I’ve been posting a lot of astrophotography to social media lately, and am constantly fielding the question “how did you do that?” So allow me to explain, for the sake of being able to link to this next time someone asks.
And ooh, look, I fixed my Jekyll Flickr plugin…
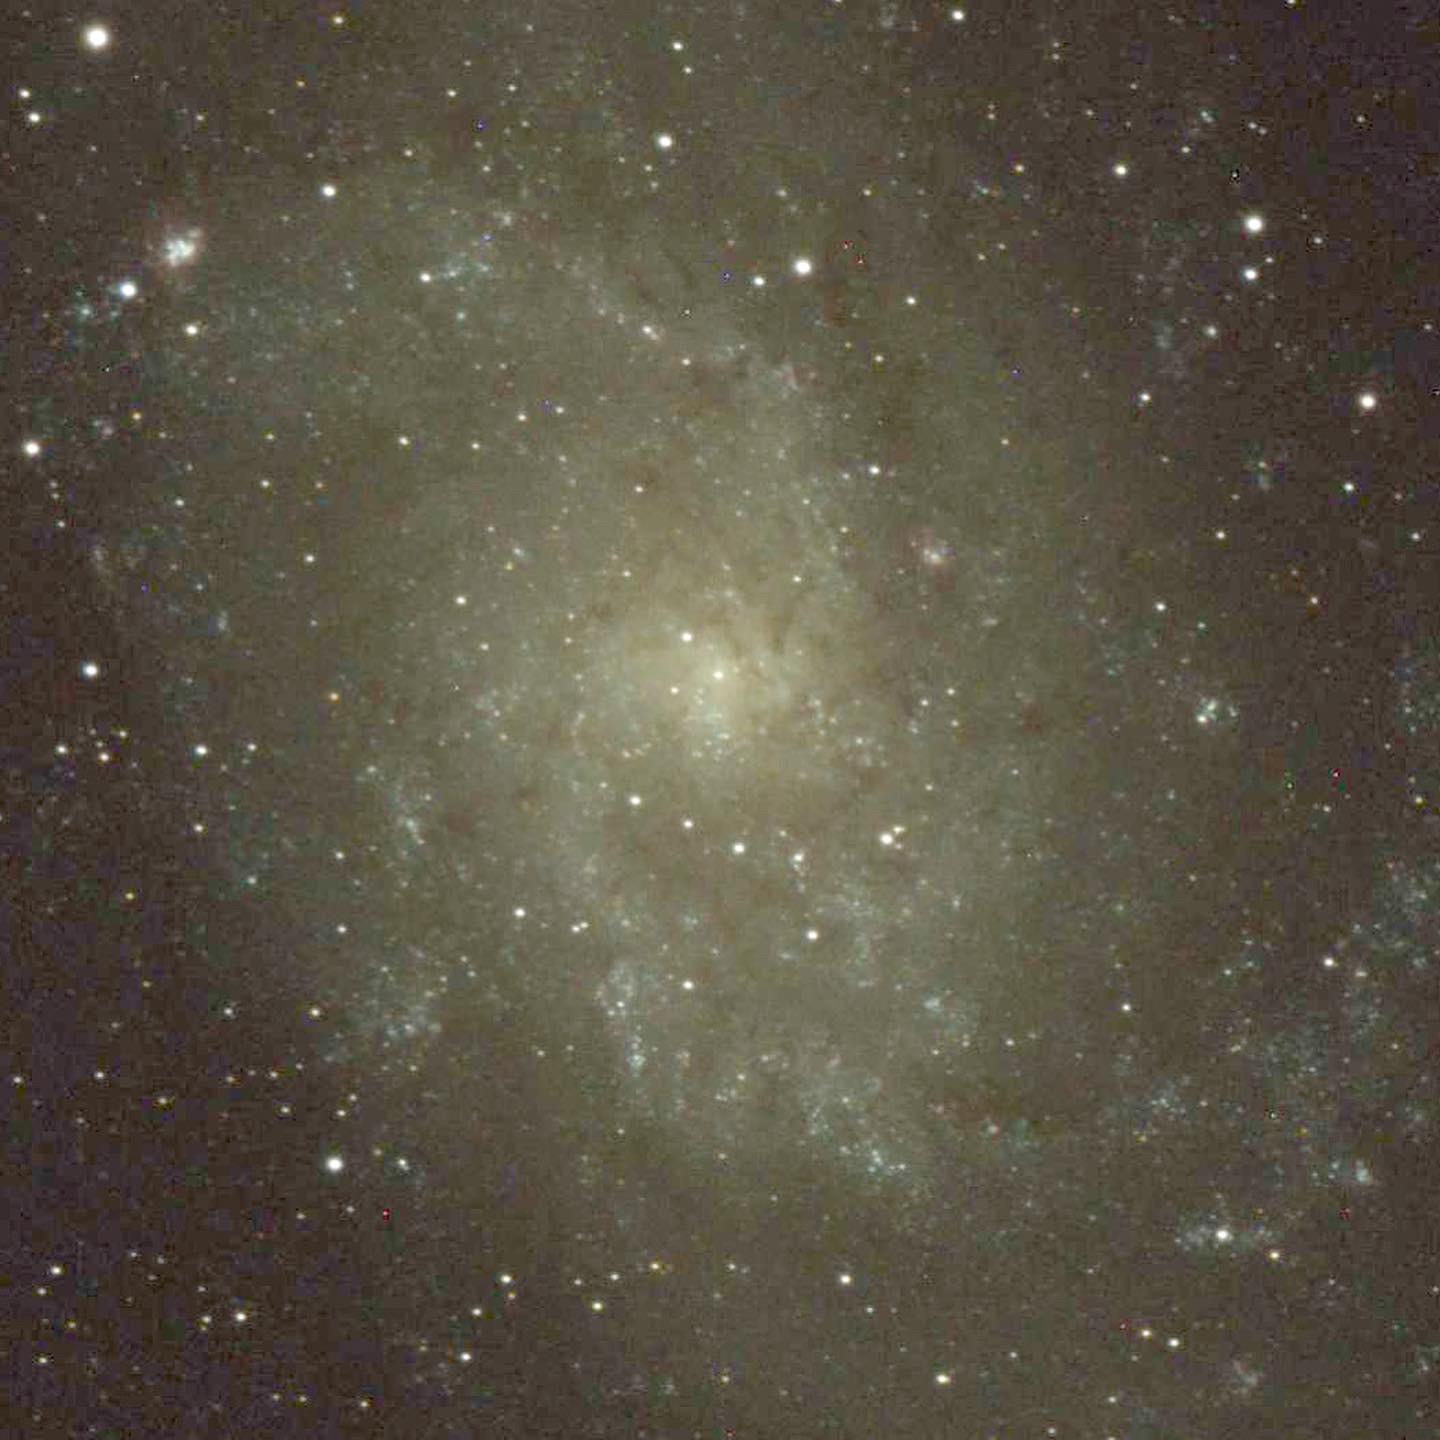
A wider angle and softer filter compositing.Color filter, single shot
I use a service called iTelescope, which gives you remote access to a bunch (24 at present) of telescopes positioned around the world (New Mexico, Spain, Chile, Australia). It’s a monthly subscription (multiple levels available) that adds “points” to your account. Each telescope has a session/imaging price that deducts from your points when you use one. Getting a great image takes a little planning, and the process is a bit circuitous, but once you get the hang of it you can spend your points wisely.
iTelescope will show you what celestial bodies are available to any given observatory at the current time. You determine what you want to photograph, then log into a scope that can see it and program the shot. iTelescope interfaces with Telescopius. Telescopius can show you how each iTelescope scope will frame any target.
Once you know what image you want and what scope to shoot it on, you create a plan. In most cases this involves setting exposure times and binning for each color filter (red, green, blue, etc.), but there are a couple of scopes that have a “color filter” that can shoot a full-spectrum image in one pass.
You set up your “program” and schedule it to run at an opportune time for what you’re photographing and its position in the sky. Only one person can use a scope at a time, so you use a calendar to reserve your time on your telescope of choice. You set your reservation time (150% of the total exposure time), specify which plan to run, and wait until the morning after to get a notification that tells you whether the imaging was able to complete or not. You’re obviously at the mercy of the weather and telescope malfunctions, but there’s no charge if your run isn’t able to complete.
Once the photos are taken, you can download all the images from the iTelescope FTP server. You get JPEGs, TIFFs, and FITS format images (raw and calibrated). Ideally you work with the calibrated FITS images (which automatically apply the dark/bias frame calibrations), loading stacks of each color filter into an astrophotography app and adjusting the balance and levels until you get the image you want.
There’s a learning curve to all of this. Honestly, it’s taken me years of using the service to actually get good at it. But the systems are much better now than they were when I first started using it in the early 2000s, and the software available for processing has come a long way. Plus, iTelescope has published myriad tutorials and webinars that explain how everything works, which I didn’t have when I first started. I’m actually using Affinity Photo to process my astrophotography these days, which has a Persona for creating astrophotography stacks, and tools for things like background removal and “star reduction,” which removes the hundreds of stars you’ll also pick up in the process of shooting any particular celestial body. It’s amazing. Props to Eric Beavers for tipping me off that an app I already owned could do such a great job of this.
I first learned about iTelescope from its original founder back when I blogged at The Unofficial Apple Weblog. He showed me that their web interface could be used from an iPhone, which was amazing in an era before mobile websites. I subscribed at that time (2007, I think?) and have been grandfathered into affordable plans ever since. If you want to get in on the action these days, you’re looking at about $40 per month at the low end, plus the time it takes to learn how to use the system. But it’s very exciting to take your own deep space photos and be able to say “I did that.” If you have the expendable income and some time to spend watching tutorial videos, I highly recommend it. There’s a free trial available, so give it a shot!


")

