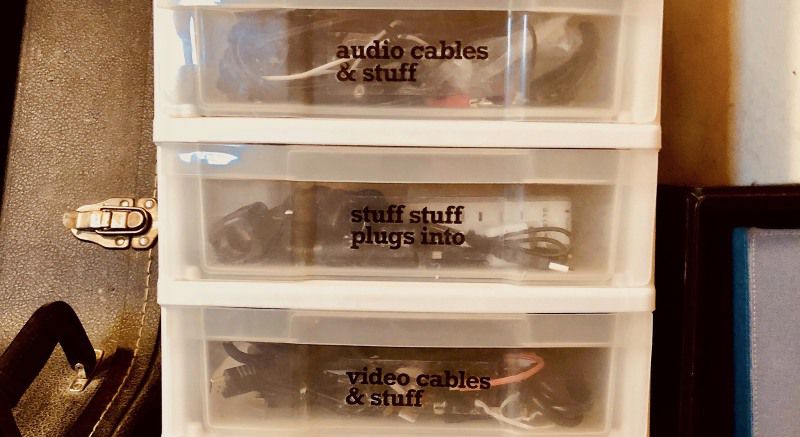
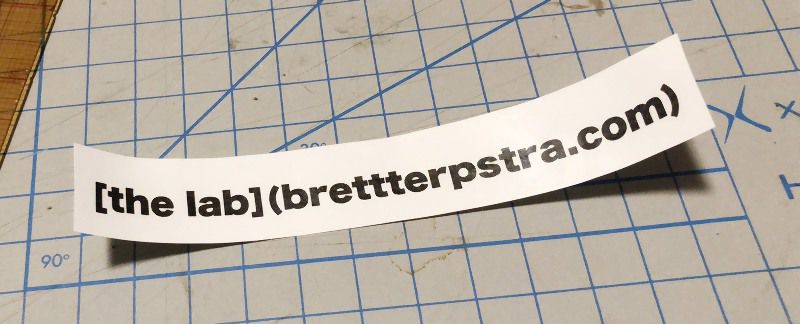
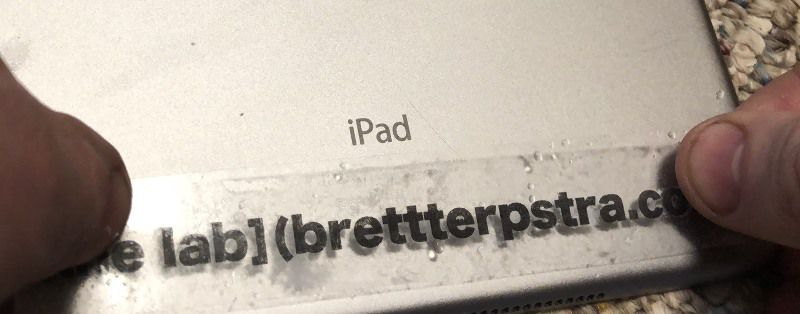
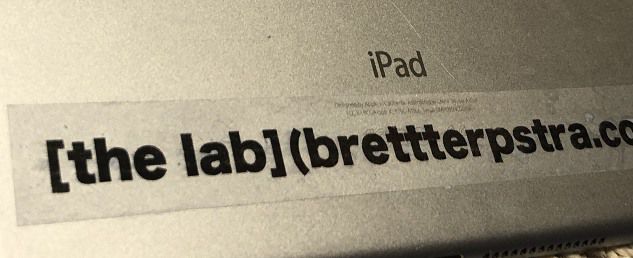
I posted the above picture on social media and got a bunch of questions about it. I don’t recall where I learned this, probably some Pinterest life hack thing. Apologies to the un-linked originator (if it’s yours, let me know, I will credit you!)
The hack is a way to make nifty clear labels using a laser printer and clear packing tape. You get to use your own fonts and you can make them any size you like (up to the width of your packing tape).
Requirements:
A laser printer (This only works with black toner, no inkjets)
Clear tape (I use Scotch clear packing tape, but I’ve also done this with just scotch tape (the stuff in your office supplies drawer) when I label spice jars. You can always cut the size down.)
A glass of water
Scissors
An old credit card for scraping
Probably something that needs labeling, but it’s enough fun that you might just label doors and tables and cars (“door,” “table,” and “car,” I would assume)
It’s not terribly complicated, but I made you pictures anyway.
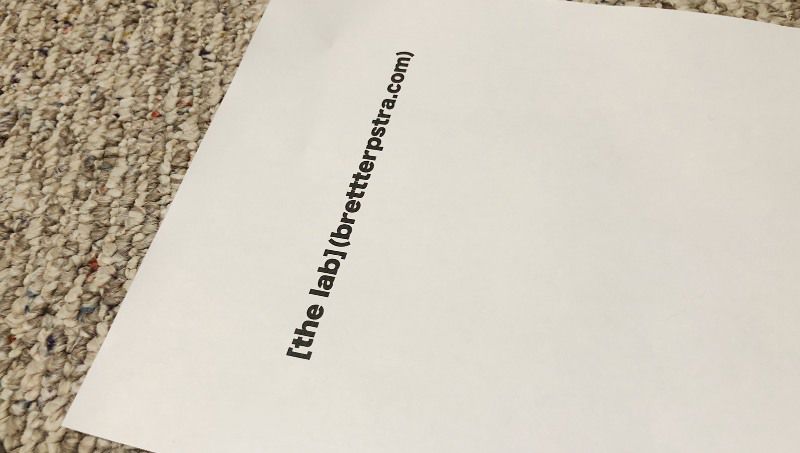
Print 100% black text on plain office paper. I messed around a bit with shades of grey, but only 100% black text really works for this. Heavier fonts work better, but only because they’re more readable on most surfaces.
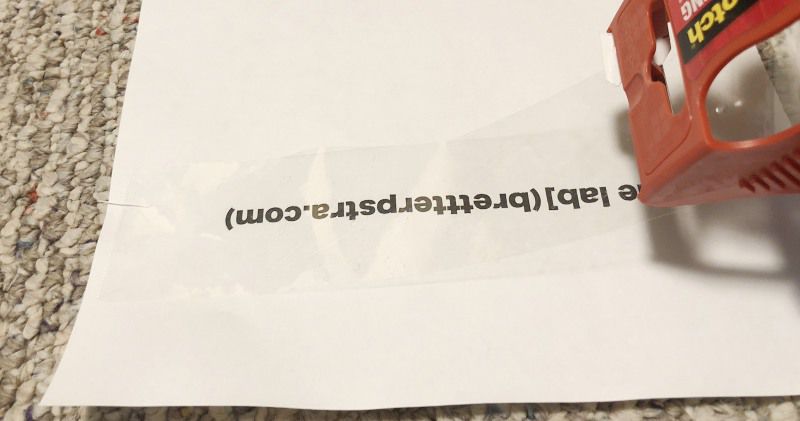
Put clear tape over it. Smoothly lay down packing tape over the text. If you want margins on the final label, make sure the label is straight with the text.
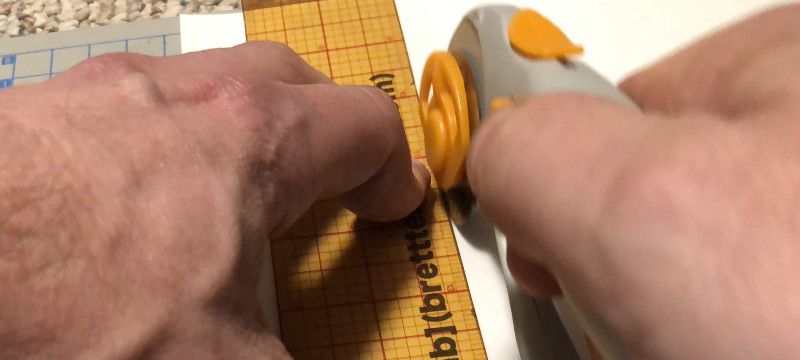
Trim the label. Cut away everything but the final label.
Be careful to cut it straight because, as clear as clear tape is, you’ll still see the edges after it’s stuck on.
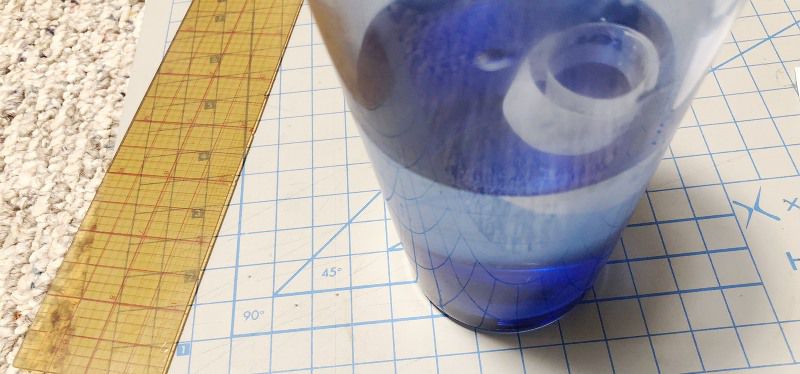
Soak it in water. Soak it at least long enough to wet the paper all the way through. I haven’t seen any issues caused by soaking too long, but you’ll definitely have problems if it’s not soaked long enough.
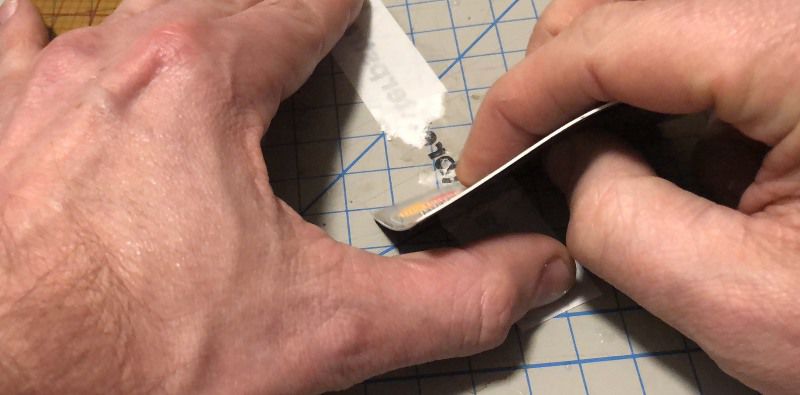
Scrape the paper off. Start with a credit card to get the paper coming off. Light scraping works fine if the paper is properly soaked. You don’t want to scrape off all the adhesive, just separate the wet paper from it.
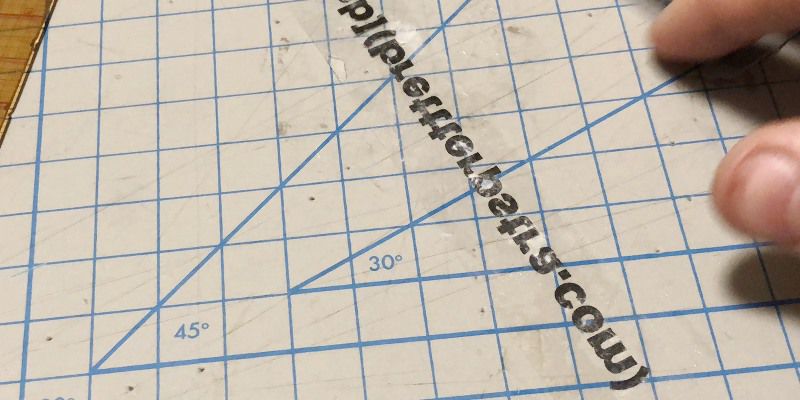
You’ll find you have to go at it a few times, as it will look clean while it’s wet but once it starts to dry you’ll see where you have little bits of white left. Once it’s down to just splotches here and there, you can rub it with your finger or scrape with a clean fingernail.
Apply. I tend to just stick them on wet and squeegee out moisture with a credit card. They seem to stick better after drying if I let them dry on the surface. The adhesive won’t be nearly as strong as the original packing tape, but it’ll stay, especially if you clear out all air bubbles. Plus, now it’s more removable than tape.